Manage a ticket
A page is designed to manage the different tickets. It allows you to delete, add, and edit them. It provides a global view of tickets as well as their status, the ticket number, the estimated wait, and more.

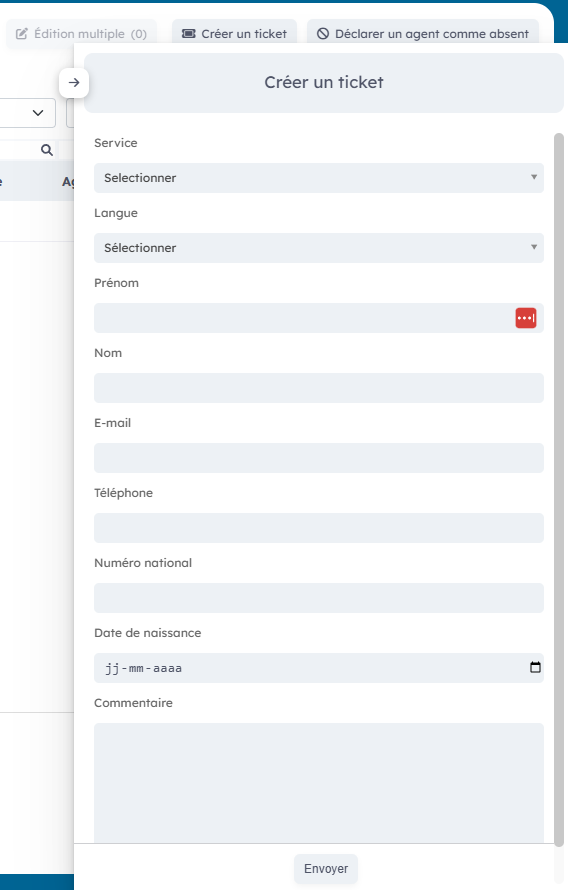
1.1. Create a ticket
Click the "Create a ticket" button.

A window will open and you must enter this information:
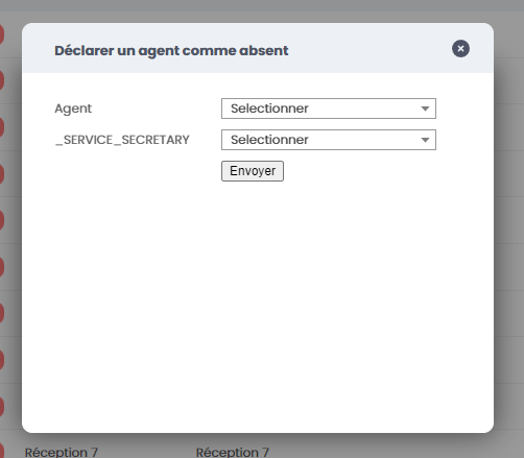
1.2. Declare an agent absent
To declare an agent absent, click the "declare an agent as absent" button.

A window will open, then indicate the agent you want to mark absent as well as the service they are in to transfer all tickets from the agent.
1.3. Search for a ticket
To search for a ticket, various filters as well as search bars are available. You can therefore refine your search.
1.4. The ticket list
This list provides an overview of tickets as well as certain information.
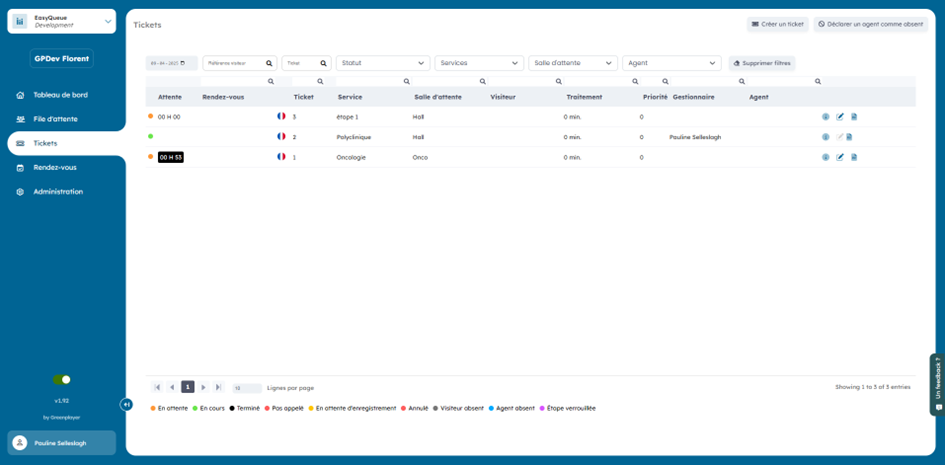
The list of different tickets provides this information:
- Status, with the legend
- Wait time
- Appointment
- Ticket number
- Estimated absence time
- Service
- Waiting room
- Visitor
1.5. Possible actions on a ticket
Different icons are available. Four actions are possible:
- PMR desk
- View ticket information
- Edit a ticket
- Export a ticket to .PDF
![]()
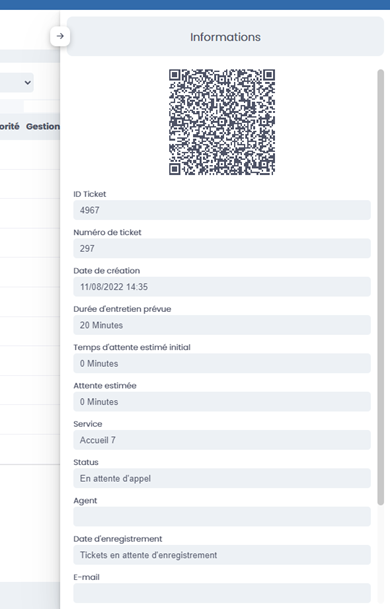
1.6. Reading the information
By clicking the "![]() " icon, a window will open with all the ticket information.
" icon, a window will open with all the ticket information.
1.7 Edit a ticket
By clicking the "edit" icon, a window will open with the different editable settings. Once the changes are made, simply click "Edit".

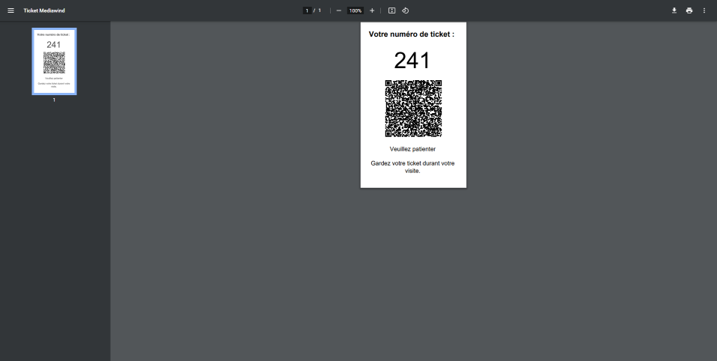
1.8 Export the ticket as PDF
By clicking the PDF export icon, a new page will open in your browser with the visitor's ticket in PDF. You can then print it.